I have to admit that I haven’t always cooked my own beans. I often relied on the canned version, but I wanted to change that, so I did. Since cooking my own beans I now understand the benefits, but I want to share some of those benefits with you. So here we go.
The benefits of soaking + cooking your own dry beans.
[1] saves you money.
The standard canned version gives you a little over a cup of cooked chickpeas for around $1. I know this doesn’t sound like much, but if you purchase a 16-oz bag of dry chickpeas for around $1.50, when soaked + cooked you’ll end up with about 6 cups. I’ll take it.
[2] enhances nutrient content + avoids the preservatives.
Dried beans [i.e. chickpeas] are a great source of protein, fiber, iron, B vitamins + magnesium. Making them from scratch will ensure that you can avoid those pesky preservatives and sodium that are in the canned version. And soaking your chickpeas before cooking them will significantly decrease the cooking time as well as enhance the nutrition benefits.
[3] increases digestibility.
I think we’ve all heard or even experienced some of the unpleasant side effects of eating beans. Soaking beans can help your body digest them better by removing naturally present sugars [called oligosaccharides] from the bean. Without going through the soaking process before consumption, these sugars can remain undigested until they reach the large intestine where bacteria feed off of them, causing gas + bloating. Soaking beans will help remove the oligosaccharides, thus increasing digestibility and the unpleasant side effects. Just be sure to rinse and drain your beans after soaking to ensure those sugars are removed.
[4] decreases phytic acid + mineral malabsorption.
Beans naturally contain a compound called phytic acid, which is known to reduce bioavailability [absorbability] of many essential minerals, including zinc, well-known for it’s immunity boosting effects. Soaking beans can reduce the negative effects of phytic acid and decrease the chances of mineral malabsorption.
[5] tastes great.
If reasons 1 through 4 haven’t convinced you enough, I encourage you to soak + cook your own beans because they simply taste better. They taste fresh and homemade because, well, they are. You have to think ahead to soak + cook your beans because the soaking process is overnight and the cooking can be about an hour. So I like to make this a go-to habit on my weekend meal prep day. That way I have a bunch of cooked beans to use, whether I add them to soups, salads, or bake them for my Crunchy Oven Roasted Chickpeas.
Recipe below!
[sweet on the left, spicy on the right.]
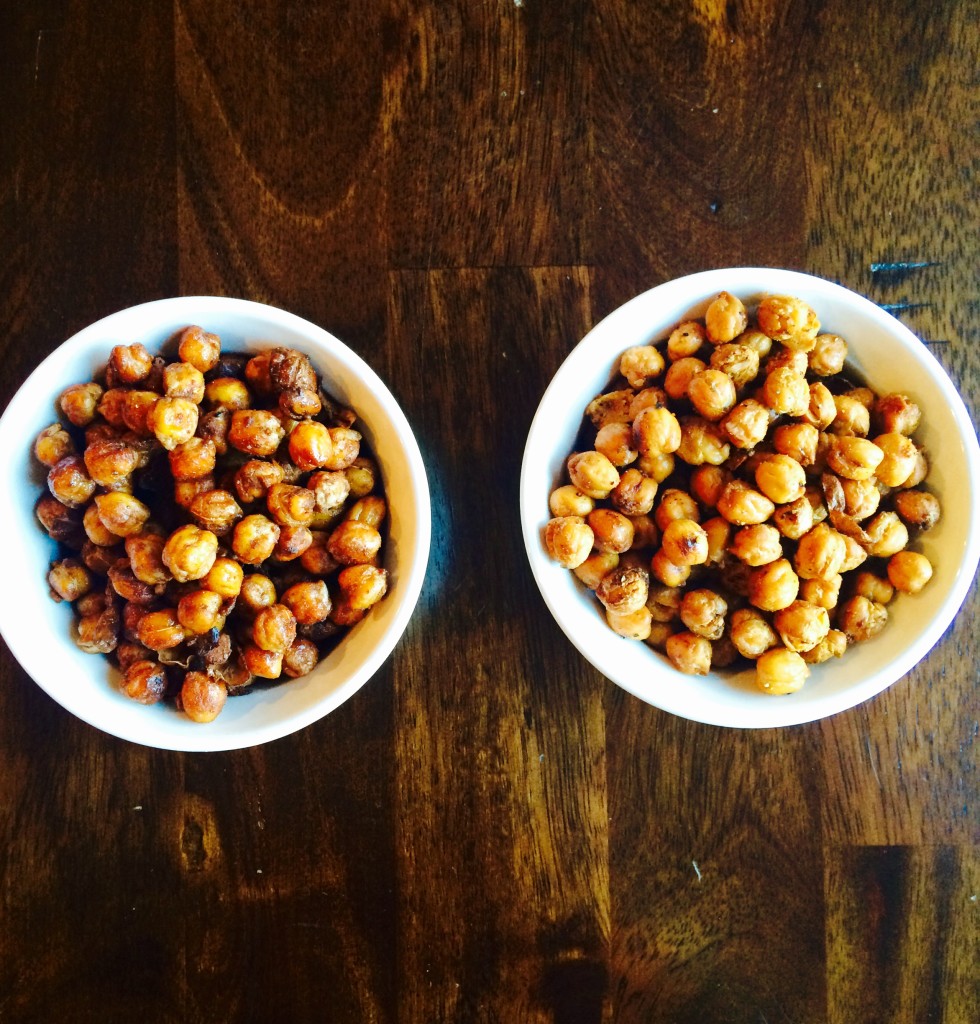
Step 1: soak your dry beans in a large bowl and cover with water. The water should be a few inches above the chickpeas because the dry beans will absorb some of the water. Cover with plastic wrap and stick in the fridge overnight.
[dry chickpeas covered in water for soaking.]
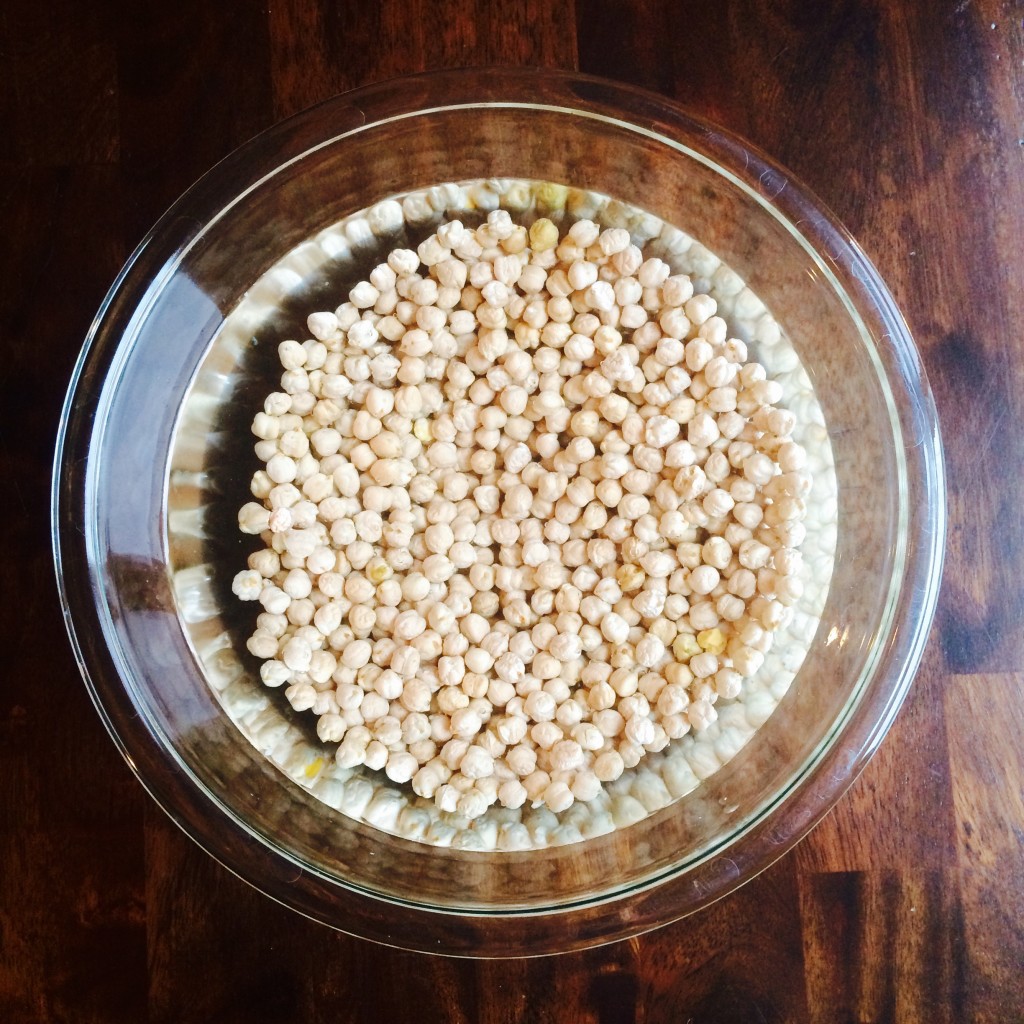
Step 2: The next morning [or 8-12 hours later] drain and rinse the chickpeas well. You want to rinse well to make sure and remove the oligosaccharides, or sugars that have leached out of the beans. Remember that these sugars may be responsible for the gas + bloating that comes along with eating beans.
[soaked overnight, drained + rinsed; ready to be cooked.]
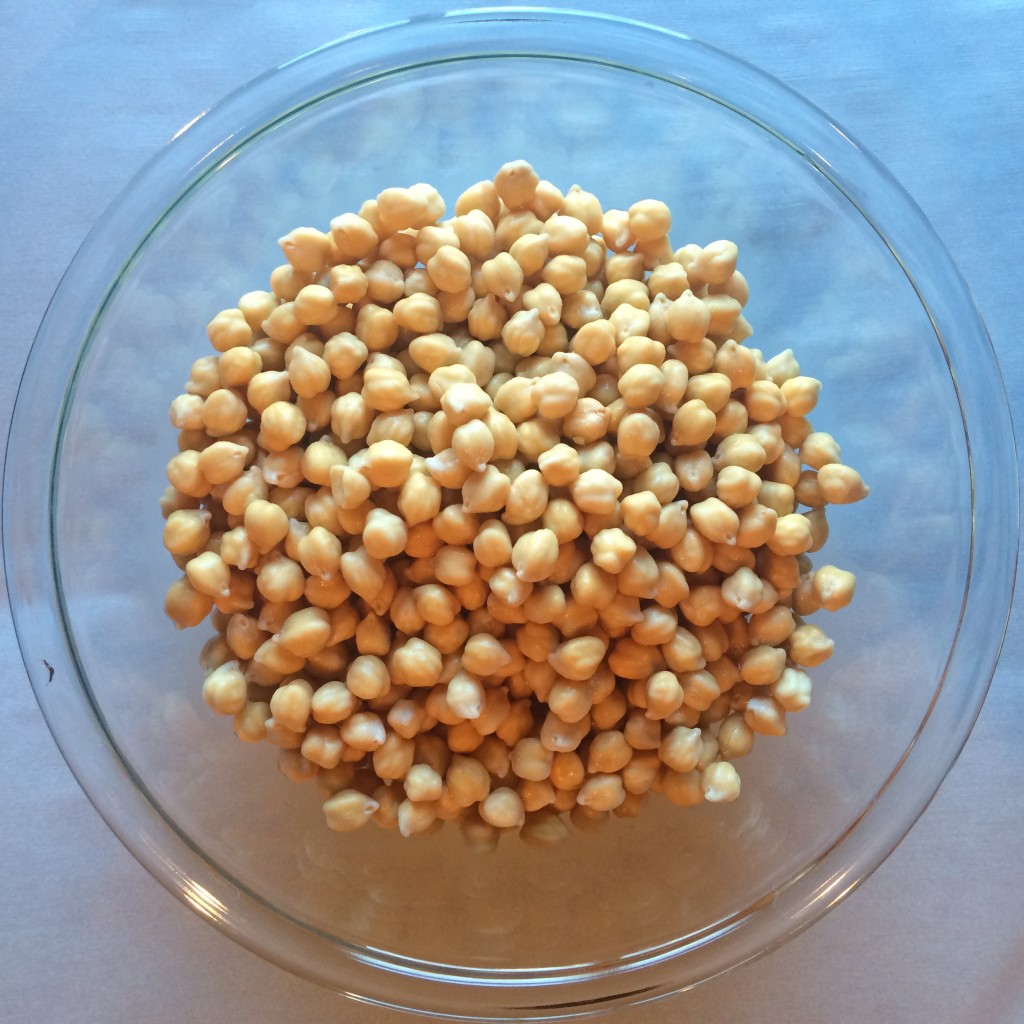
Step 3: Add your drained + rinsed chickpeas to a large stock pot on medium heat. Cover with water [again a few inches over the chickpeas] and add a pinch of sea salt. Bring to a boil, lower heat and simmer for about an hour until all or most of the water is absorbed. Test your chickpeas for doneness; they should be soft in the middle but not too mushy. Drain any excess water and rinse. From here you can use your cooked chickpeas immediately or put them in the fridge in an airtight container for up to one week.
Okay, so you’ve cooked the beans and you’re ready to prepare my Crunchy Oven Roasted Chickpeas. Check out the recipe and directions for both my chili + sea salt version and my maple + cinnamon version. Full directions to soak + cook chickpeas is below as well.
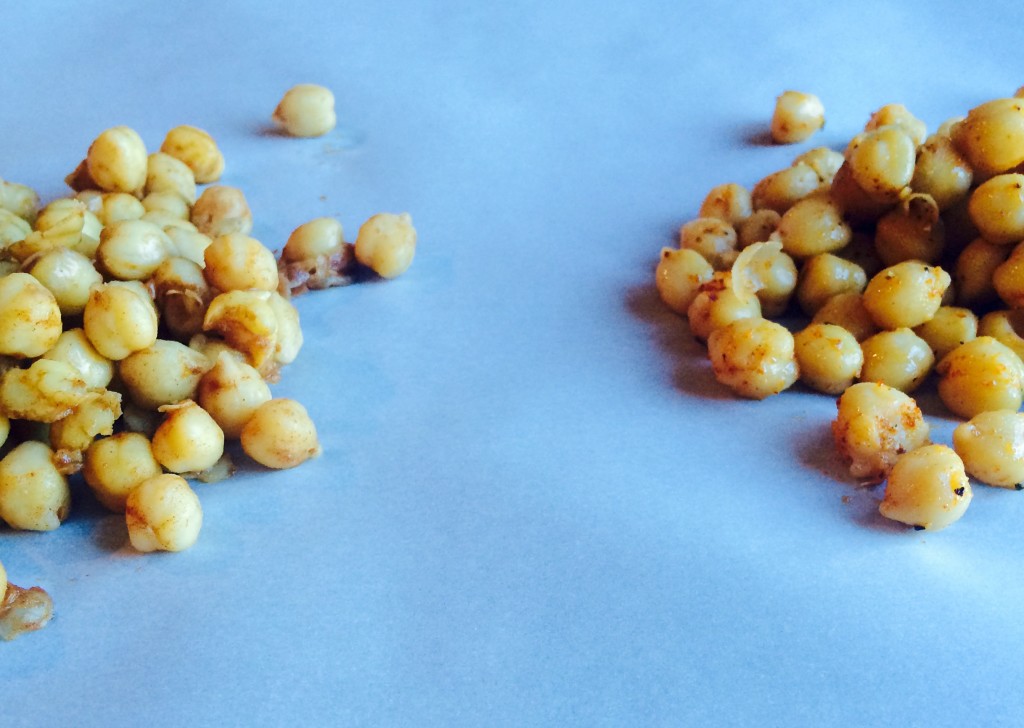
[sweet chickpeas on the left + spicy chickpeas on the right.]
Crunchy Oven Roasted Chickpeas [chili + sea salt]
servings: 10-12
Ingredients
- 3 cups freshly cooked chickpeas [or about 3 cans chickpeas drained + rinsed well]†
- 1 Tbsp olive oil
- 1 tsp sea salt
- ½ tsp fresh ground black pepper
- 2 tsp chili powder
†I purchased a 16-0z. bag of dry chickpeas, soaked them overnight and cooked them the next day. I ended up with about 6 cups of cooked chickpeas which I split in half: 3 cups for the chili version + 3 cups for the maple cinnamon version.
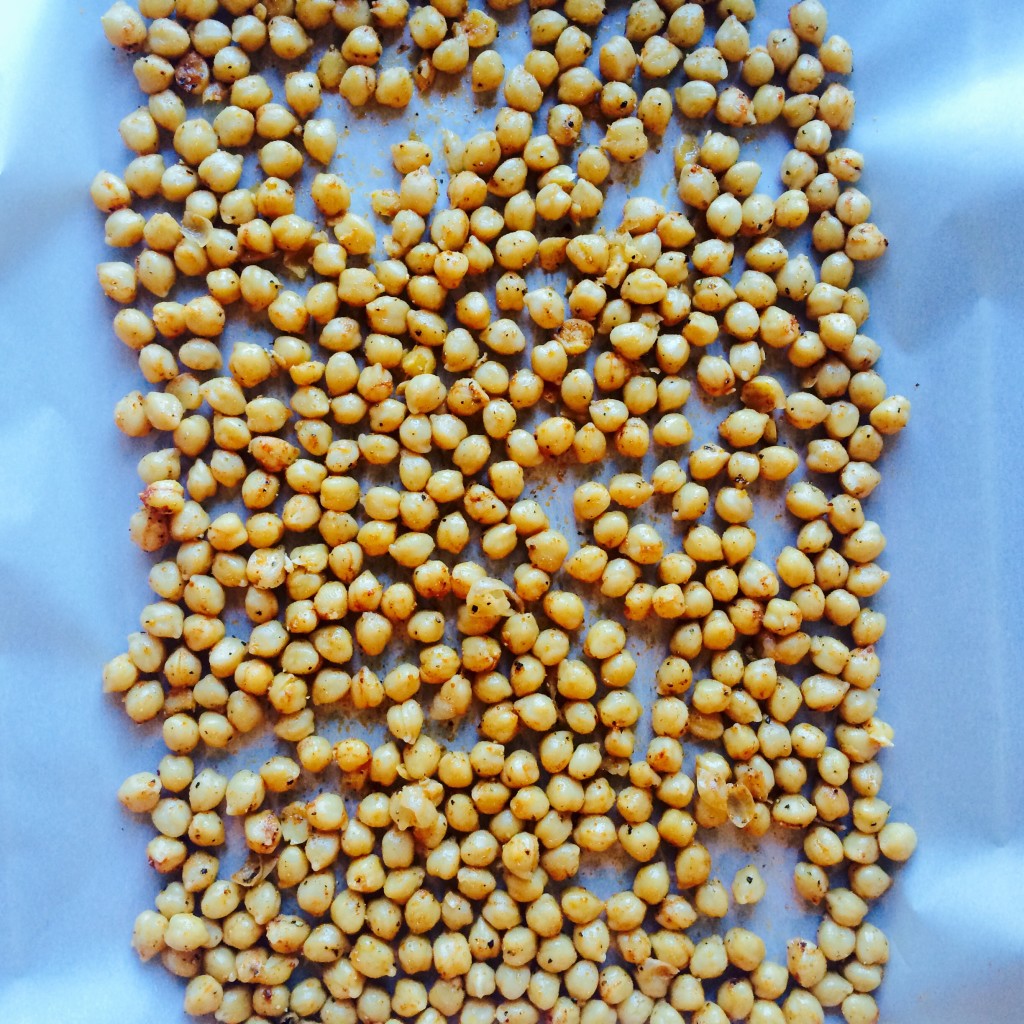
[chili + sea salt chickpeas ready to be baked.]
Directions
To prepare chickpeas, place dry chickpeas in a large bowl and cover completely with water. Let soak overnight in refrigerator. The next day, drain and rinse well. In a pot over medium-high heat, bring soaked chickpeas, water and a pinch of sea salt to a boil [water should cover chickpeas completely]. Lower heat and simmer beans for about 1 hour until tender. Drain, rinse and set aside to cool. You can prepare these a couple days ahead of time and keep in the refrigerator until ready to use.
Preheat oven to 350 degrees. Measure out about 3 cups of cooked chickpeas. Pat dry with a paper towel. In a large bowl add chickpeas, olive oil, sea salt, black pepper and chili powder. Mix all ingredients well, making sure to coat all of the chickpeas completely. Transfer mixture to a parchment paper lined baking sheet. Bake for about 1 hour, mixing occasionally to prevent burning. The chickpeas will be done when they are crunchy and no longer soft in the center. When done, remove from the oven, let cool and store in an airtight container.
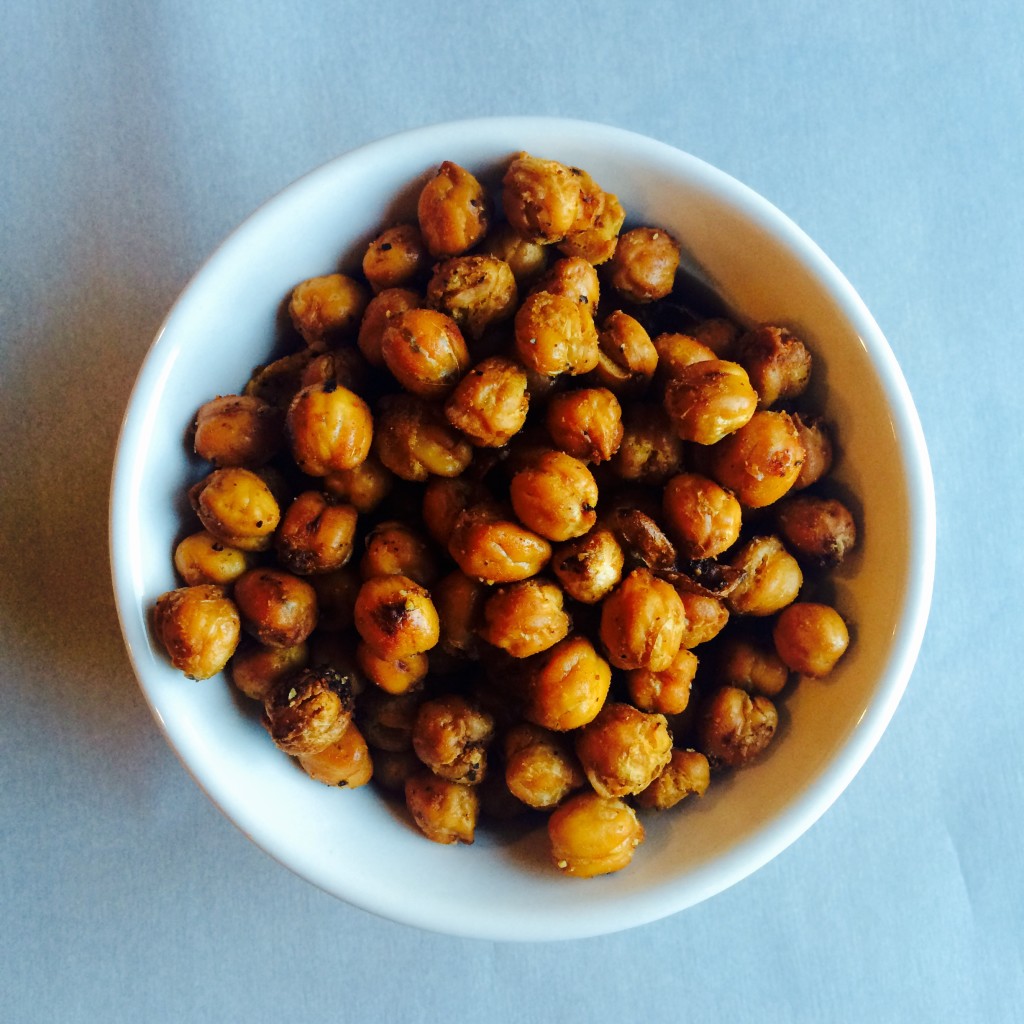
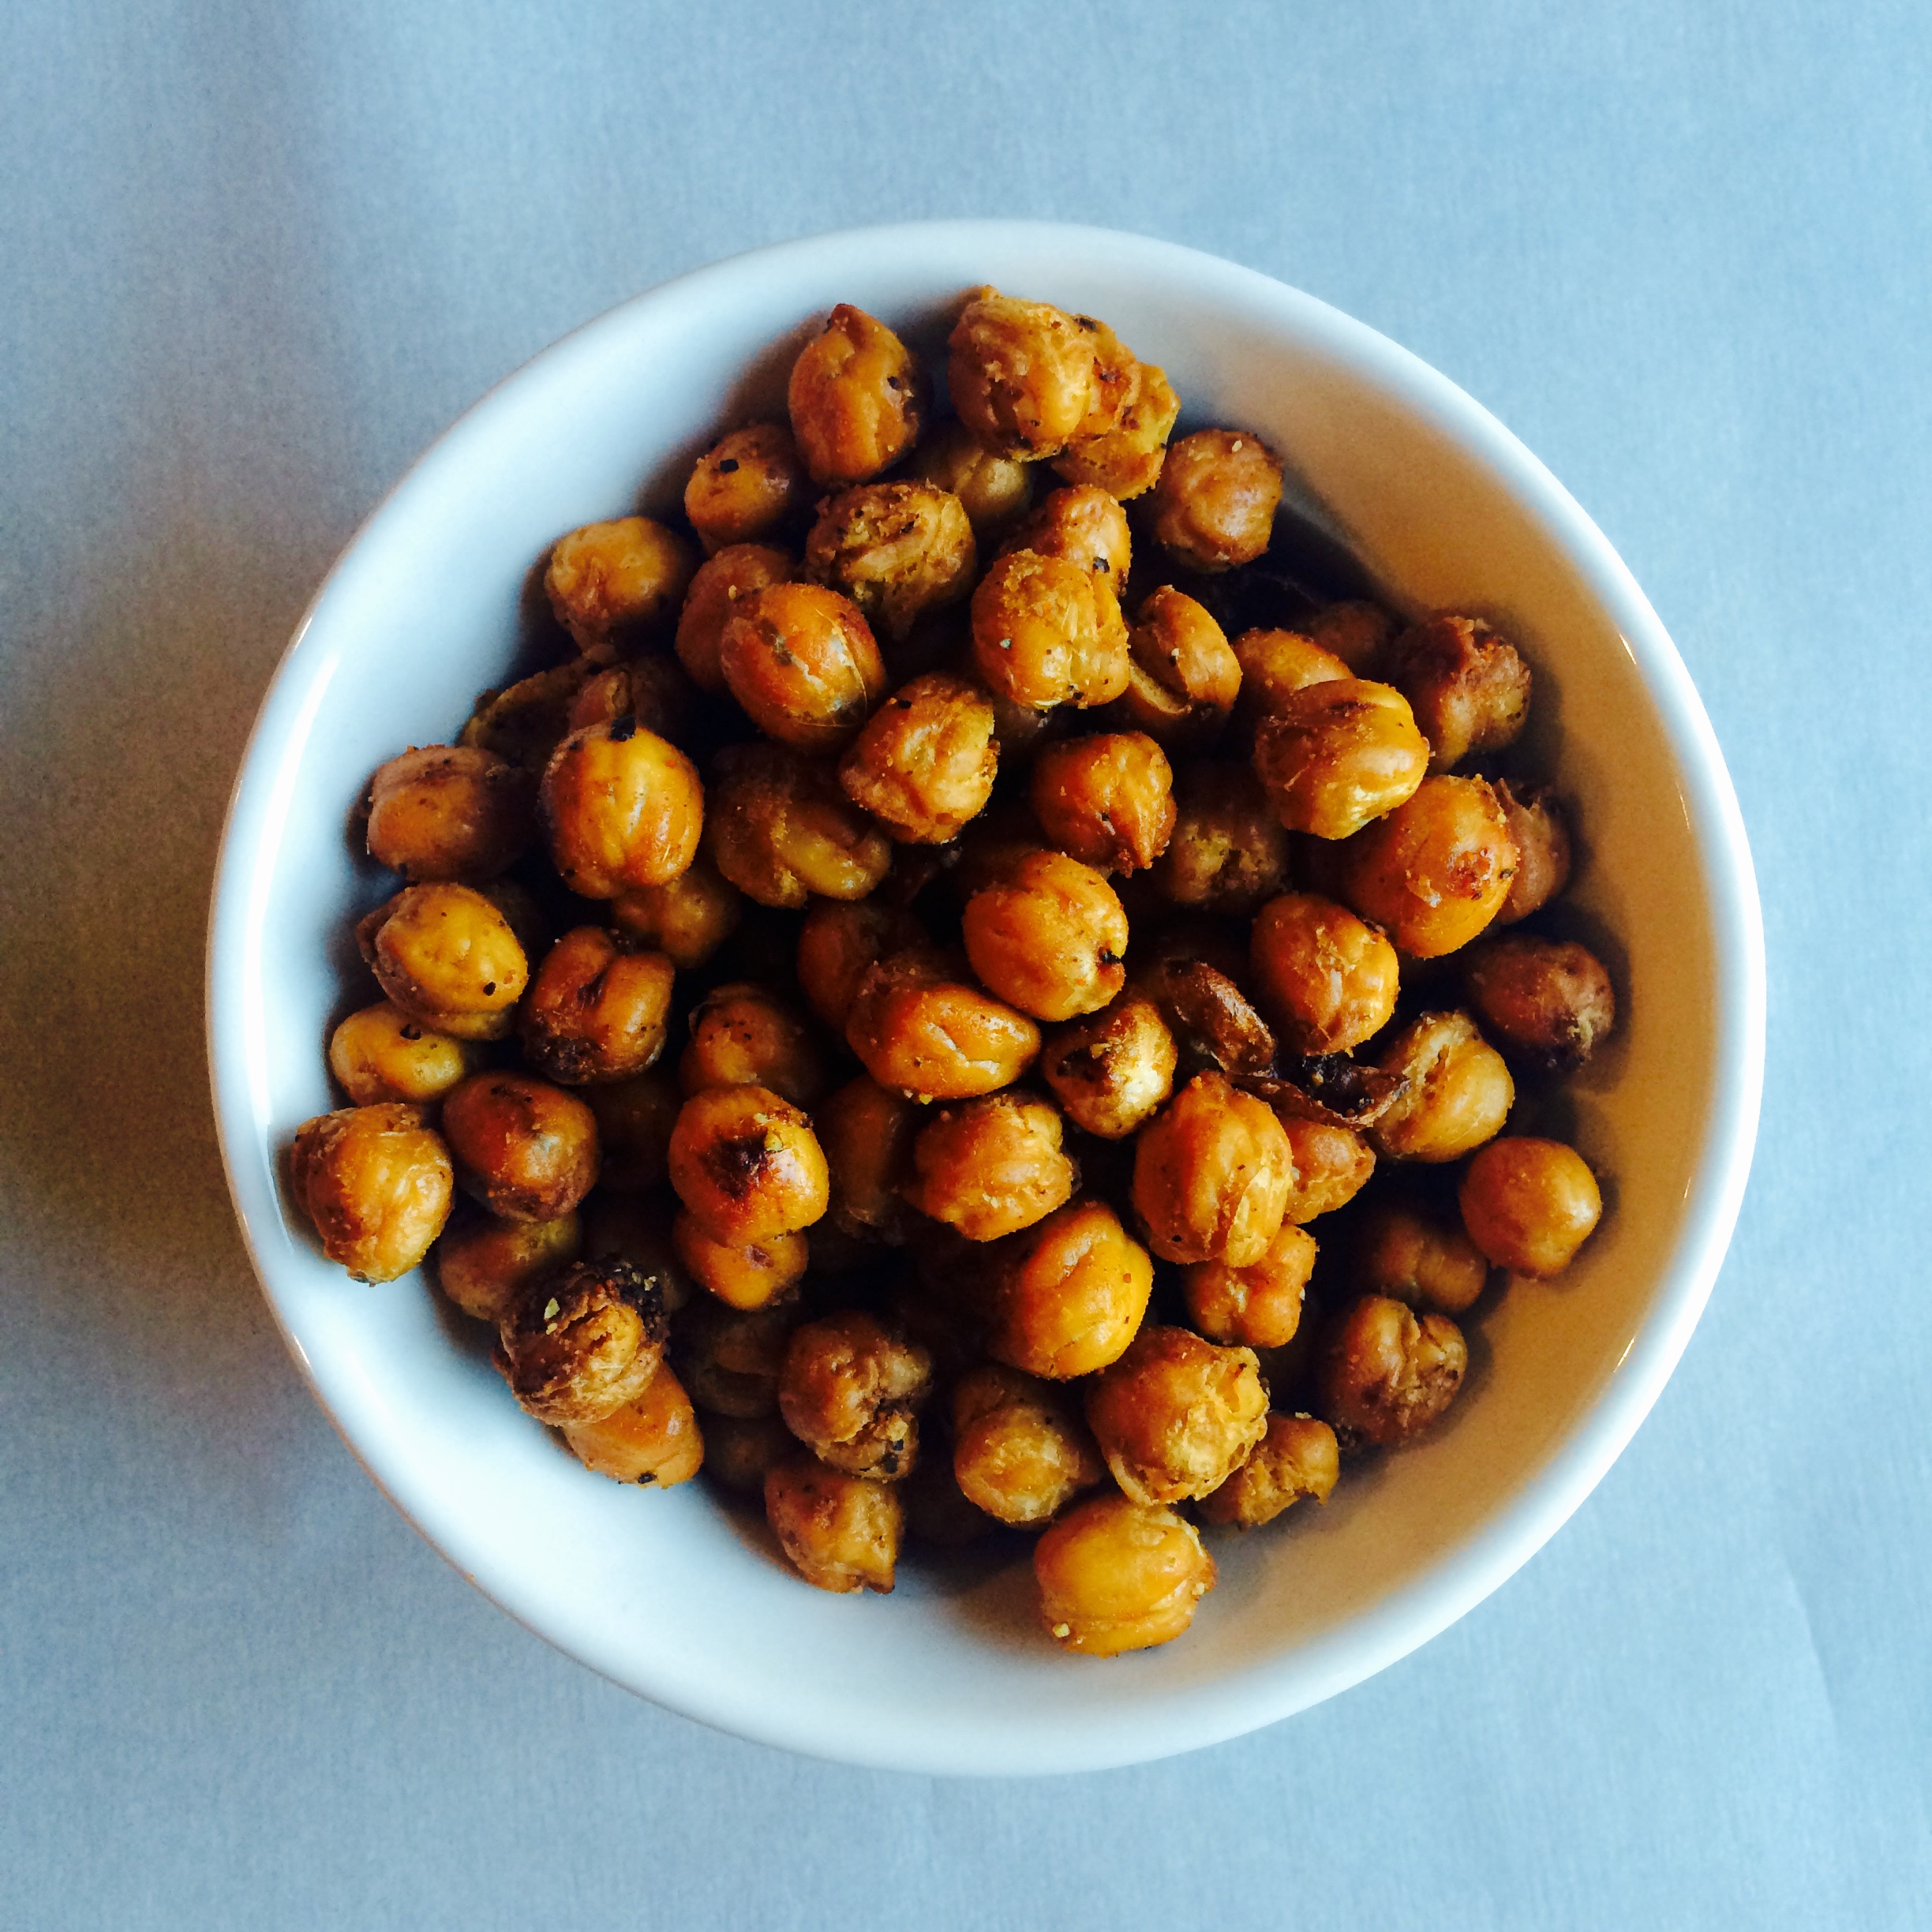
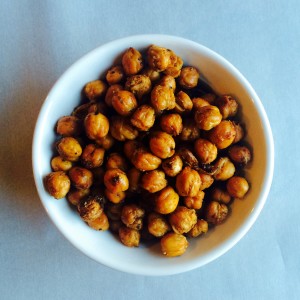
[chili + sea salt chickpeas baked and ready to eat.]
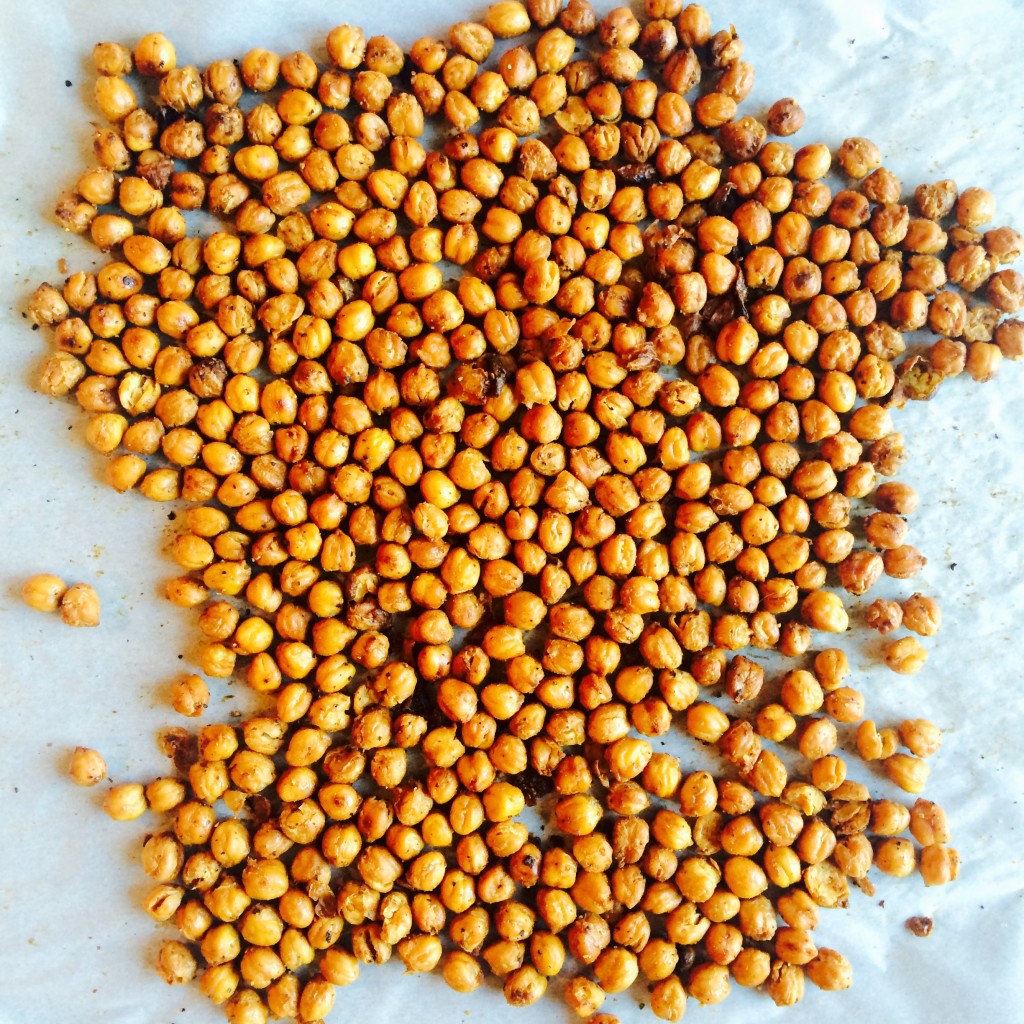
[perfect for snacking.]
Crunchy Oven Roasted Chickpeas [maple + cinnamon]
servings: 10-12
Ingredients
- 3 cups freshly cooked chickpeas [or about 3 cans chickpeas drained + rinsed well]†
- 2 Tbsp real maple syrup
- 1 tsp vanilla extract
- 2 tsp cinnamon
- pinch sea salt
- 1/8 tsp cayenne pepper [optional]
†I purchased a 16-0z. bag of dry chickpeas, soaked them overnight and cooked them the next day. I ended up with about 6 cups of cooked chickpeas which I split in half: 3 cups for the chili version + 3 cups for the maple cinnamon version.
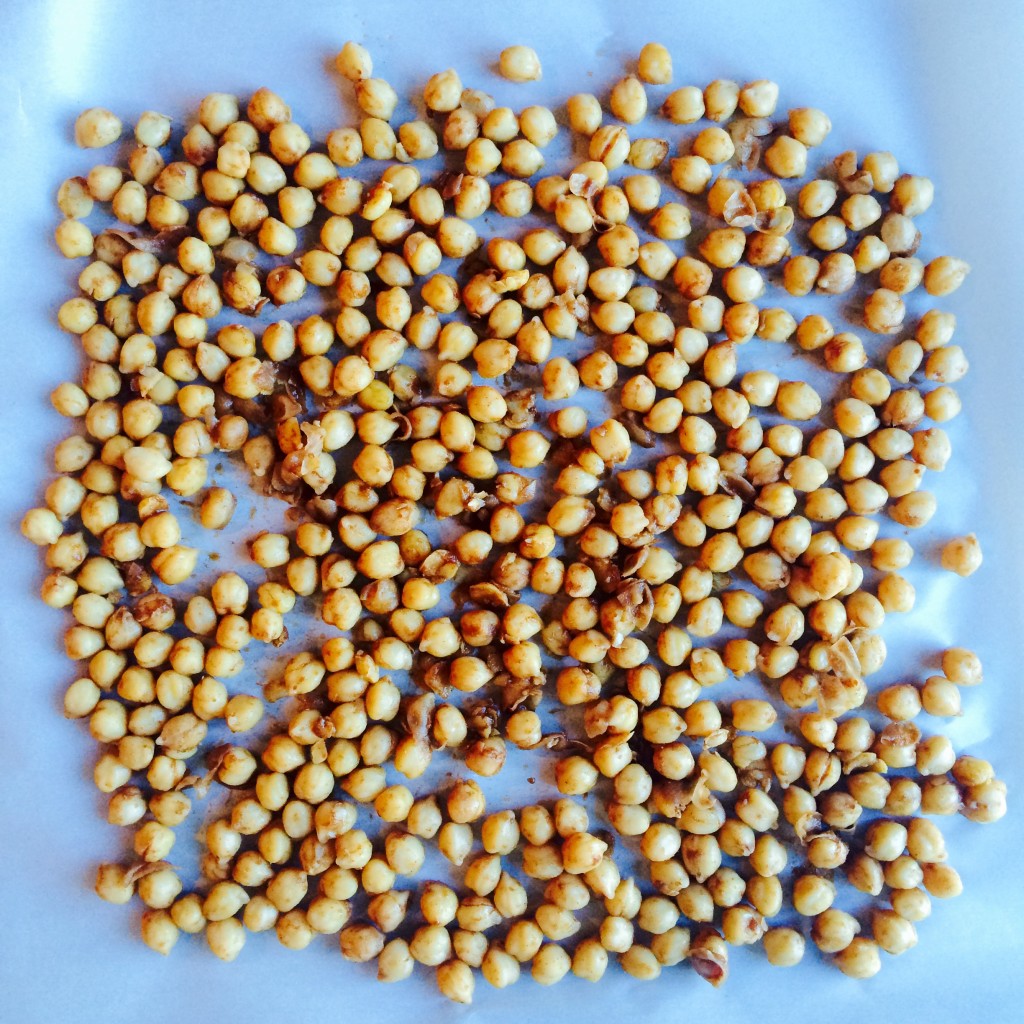
[maple + cinnamon chickpeas read to be baked.]
Directions
To prepare chickpeas, place dry chickpeas in a large bowl and cover completely with water. Let soak overnight in refrigerator. The next day, drain and rinse well. In a pot over medium-high heat, bring soaked chickpeas, water and a pinch of sea salt to a boil [water should cover chickpeas completely]. Lower heat and simmer beans for about 1 hour until tender. Drain, rinse and set aside to cool. You can prepare these a couple days ahead of time and keep in the refrigerator until ready to use.
Preheat oven to 350 degrees. Measure out about 3 cups of cooked chickpeas. Pat dry with a paper towel. In a large bowl add chickpeas, maple syrup, vanilla extract, cinnamon, sea salt and cayenne pepper [if using]. Mix all ingredients well, making sure to coat all of the chickpeas completely. Transfer mixture to a parchment paper lined baking sheet. Bake for about 1 hour, mixing occasionally to prevent burning. The chickpeas will be done when they are crunchy and no longer soft in the center. When done, remove from the oven, let cool and store in an airtight container.
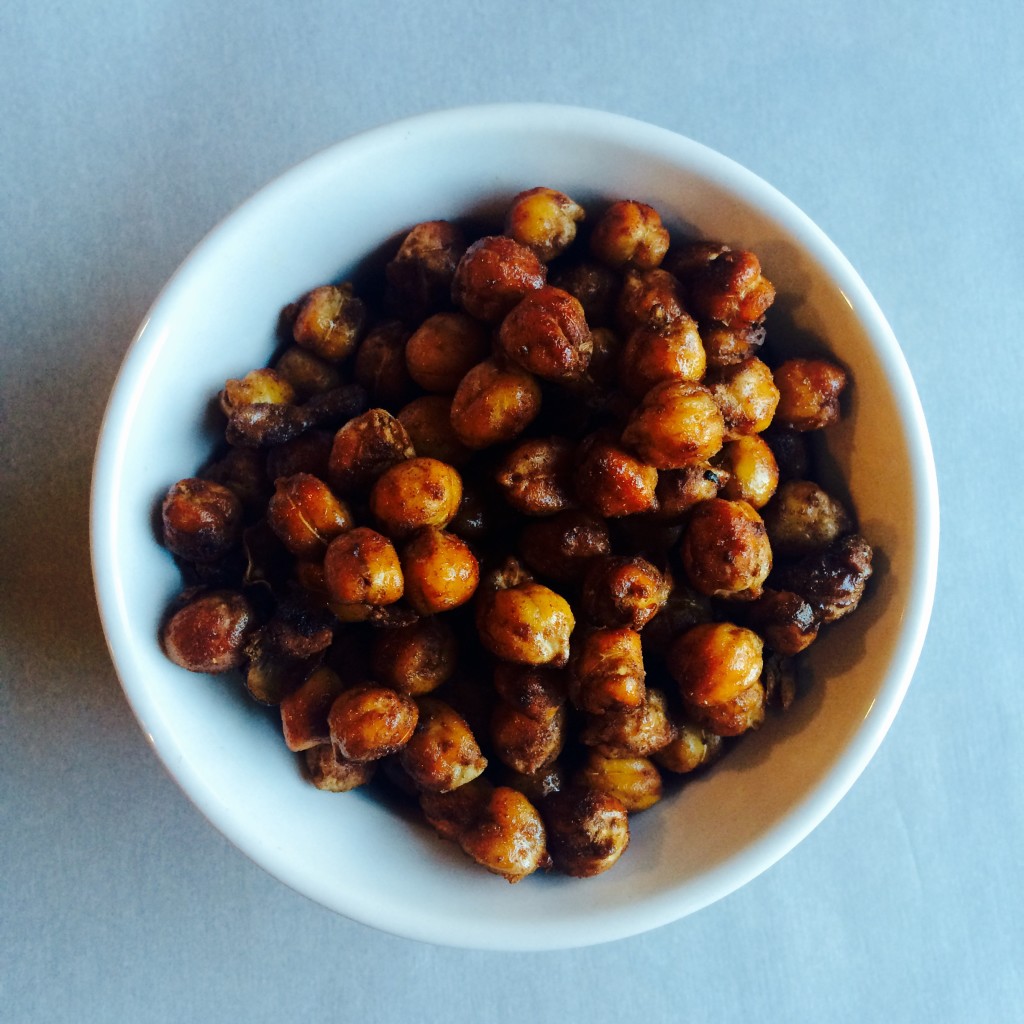
[maple + cinnamon chickpeas baked and ready to eat.]
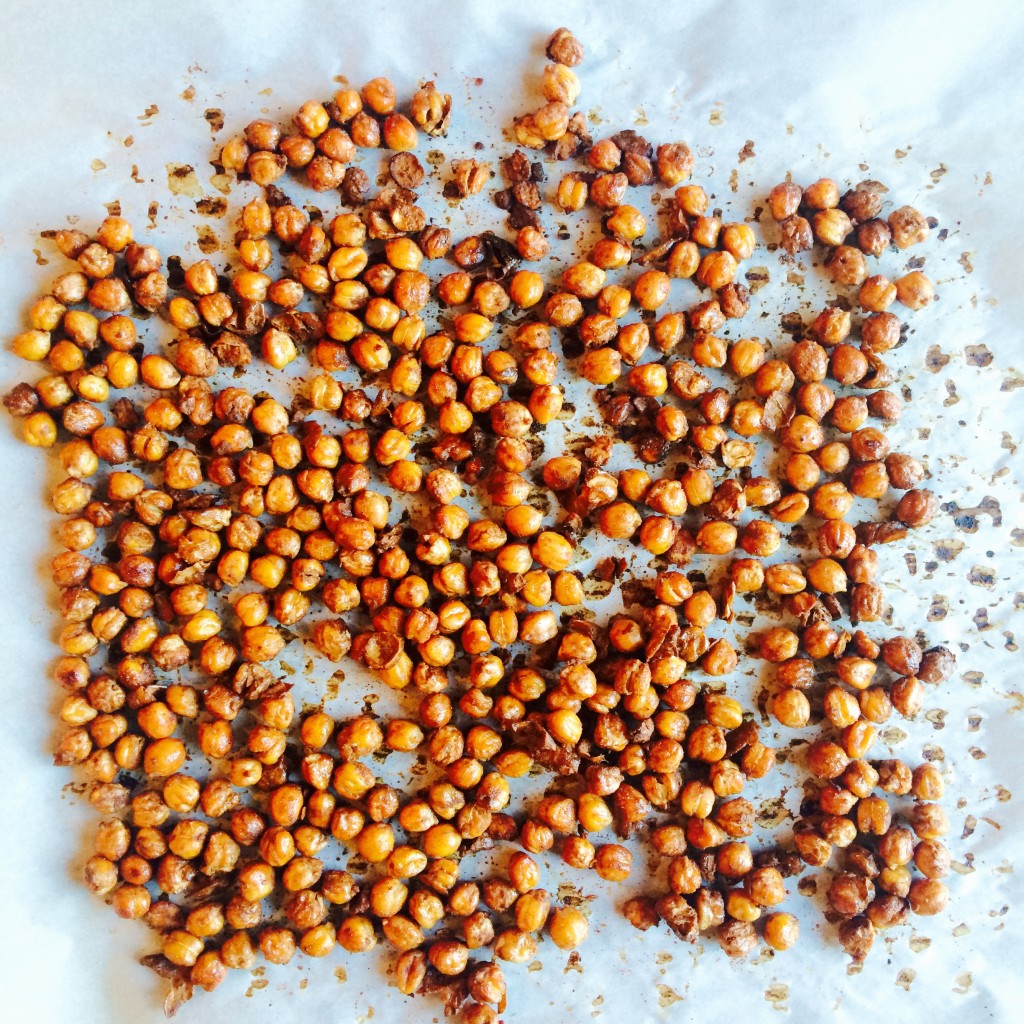
[dig in.]
- Chili + Sea Salt
- 3 cups freshly cooked chickpeas [or about 3 cans chickpeas drained + rinsed well]†
- 1 Tbsp olive oil
- 1 tsp sea salt
- ½ tsp fresh ground black pepper
- 2 tsp chili powder
- Maple + Cinnamon
- 3 cups freshly cooked chickpeas [or about 3 cans chickpeas drained + rinsed well]†
- 2 Tbsp real maple syrup
- 1 tsp vanilla extract
- 2 tsp cinnamon
- pinch sea salt
- ⅛ tsp cayenne pepper [optional]
- Chili + Sea Salt
- Preheat oven to 350 degrees. Measure out about 3 cups of cooked chickpeas. Pat dry with a paper towel. In a large bowl add chickpeas, olive oil, sea salt, black pepper and chili powder. Mix all ingredients well, making sure to coat all of the chickpeas completely. Transfer mixture to a parchment paper lined baking sheet. Bake for about 1 hour, mixing occasionally to prevent burning. The chickpeas will be done when they are crunchy and no longer soft in the center. When done, remove from the oven, let cool and store in an airtight container.
- Maple + Cinnamon
- Preheat oven to 350 degrees. Measure out about 3 cups of cooked chickpeas. Pat dry with a paper towel. In a large bowl add chickpeas, maple syrup, vanilla extract, cinnamon, sea salt and cayenne pepper [if using]. Mix all ingredients well, making sure to coat all of the chickpeas completely. Transfer mixture to a parchment paper lined baking sheet. Bake for about 1 hour, mixing occasionally to prevent burning. The chickpeas will be done when they are crunchy and no longer soft in the center. When done, remove from the oven, let cool and store in an airtight container.
Did you try either one of these recipes? Let me know what you think in the comments below! And have fun with different flavors by experimenting with different spices + herbs.



Recent Comments