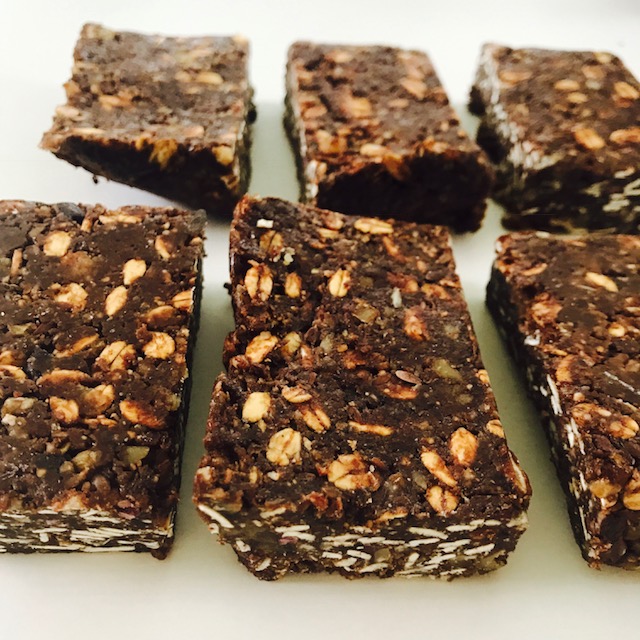
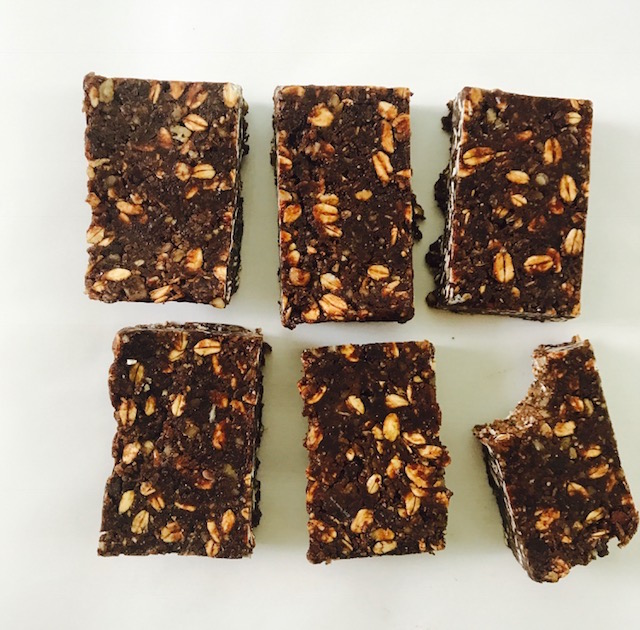
I was actually starting to get a tad tired of the original granola bars and decided to add a chocolate twist for a change. Let’s just say, they’re a hit! And who wouldn’t love a little more chocolate in their life?
I’ve loved chocolate for as long as I can remember, but not always the good dark stuff. I started eating 70% or higher dark chocolate when I attended Bastyr University for my Master’s in Nutrition almost five years ago. It was slightly bitter for me at first, but I didn’t want all of the sugar that comes with milk chocolate and I still wanted to be able to enjoy a chocolate treat once in a while, or more than that! Plus, did you know that dark chocolate actually has numerous health benefits from being an antioxidant powerhouse to supporting heart health. Just remember to choose the highest quality you can find [i.e. local, organic, fair-trade, etc.] and go for 70% cocoa or higher.
I’m sure you didn’t need too much convincing about the reasons to eat dark chocolate, but either way, there you have it!
Check out the full recipe + directions for my healthy No-Bake Cocoa Granola Bars below.
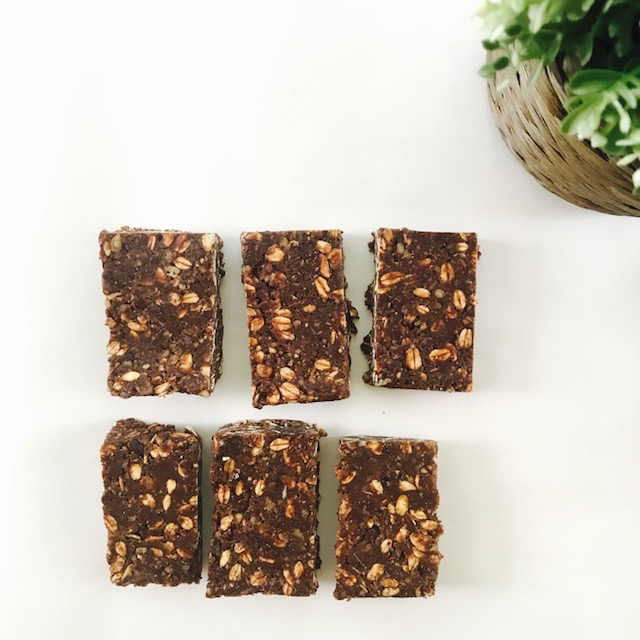
No-Bake Cocoa Granola Bars
servings: about 15
INGREDIENTS
- 1 cup oats
- 1 tightly packed cup pitted dates
- 1 cup walnuts [or raw almonds, raw cashews or a mixture of raw nuts]
- ½ cup unsweetened shredded coconut
- ¼ cup ground flax
- ¼ cup cacao nibs
- ¼ cup 100% cocoa powder
- ¼ tsp sea salt
- 1 tsp vanilla
- ½ cup almond butter [or another nut butter of your choice]
- ¼ cup maple syrup [or honey or a combination of the 2]
- about 3 tbsp water
- Optional add ins: dried fruit, hemp seeds, protein powder
DIRECTIONS
In food processor, process dates until finely chopped and they form into a ball. Add dates to large mixing bowl. In the same food processor, add walnuts and process until finely chopped. Meanwhile, add maple syrup, almond butter and vanilla to small saucepan on low heat and stir until mixture is smooth and uniform. Remove from heat. To the large mixing bowl with dates, add all other ingredients [oats, shredded coconut, ground flax seeds, walnuts, maple syrup/almond butter mixture, cocoa powder, cacao nibs and salt]. Using a wooden spoon stir mixture until all ingredients are evenly distributed [this may take a few minutes to get everything incorporated]. If the mixture is still pretty dry add a tbsp of water and continue mixing. Add more water by the tablespoon (I used about 3 tbsp) until your mixture sticks together well. Line an 8×8 baking dish with parchment paper. Add mixture to baking dish, press firmly and evenly. Cover with foil or plastic wrap and refrigerate or freeze for a couple of hours or overnight. Cut into bars and store in an airtight container for up to one week. You can store in the refrigerator or freezer as well. Enjoy!
- 1 cup oats
- 1 tightly packed cup pitted dates
- 1 cup walnuts [or raw almonds, raw cashews or a mixture of raw nuts]
- ½ cup unsweetened shredded coconut
- ¼ cup ground flax
- ¼ cup cacao nibs
- ¼ cup 100% cocoa powder
- ¼ tsp sea salt
- 1 tsp vanilla
- ½ cup almond butter [or another nut butter of your choice]
- ¼ cup maple syrup [or honey or a combination of the 2]
- about 3 tbsp water
- Optional add ins: dried fruit, hemp seeds, protein powder
- In food processor, process dates until finely chopped and they form into a ball.
- Add dates to large mixing bowl.
- In the same food processor, add walnuts and process until finely chopped.
- Meanwhile, add maple syrup, almond butter and vanilla to small saucepan on low heat and stir until mixture is smooth and uniform. Remove from heat.
- To the large mixing bowl with dates, add all other ingredients [oats, shredded coconut, ground flax seeds, walnuts, maple syrup/almond butter mixture, cocoa powder, cacao nibs and salt].
- Using a wooden spoon stir mixture until all ingredients are evenly distributed [this may take a few minutes to get everything incorporated].
- If the mixture is still pretty dry add a tbsp of water and continue mixing. Add more water by the tablespoon (I used about 3 tbsp) until your mixture sticks together well.
- Line an 8×8 baking dish with parchment paper.
- Add mixture to baking dish, press firmly and evenly.
- Cover with foil or plastic wrap and refrigerate or freeze for a couple of hours or overnight.
- Cut into bars and store in an airtight container for up to one week.
- You can store in the refrigerator or freezer as well.
- Enjoy!
Have you tried this recipe yet? Let me know in the comments!

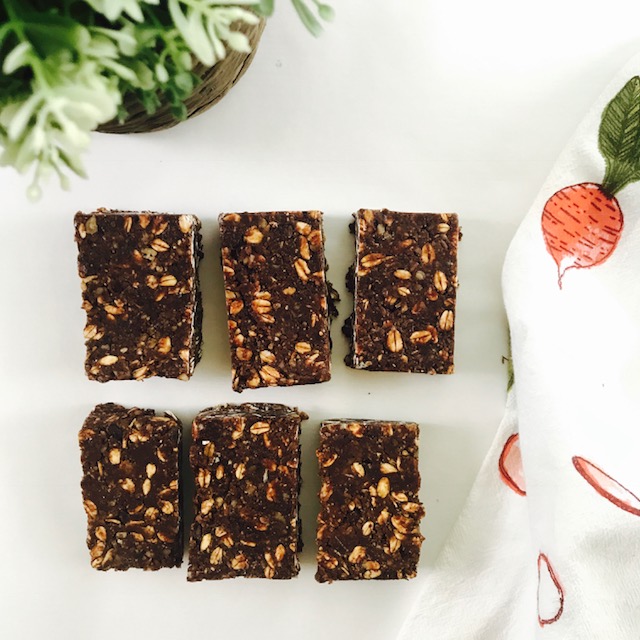


These are totally YUMMY! And pretty easy to make as well. Cat approved!!!! 🙂
Yay! Glad you love them as much as we do! 🙂
Can you pls give the nutritional values of these bars?