The perfect bite-sized treat.
With all the sunshine lately in Seattle, I’ve been craving foods that are lighter and more refreshing; more summertime foods. Have I mentioned yet that I’m ready for summer? When I think light + refreshing, I think citrus. These Raw Key Lime Coconut Balls make the perfect sweet treat, whether it’s an after dinner dessert or just a snack time pick-me-up. They’re easy to make, there’s no baking or cooking involved, and all you need is a food processor to get the job done.
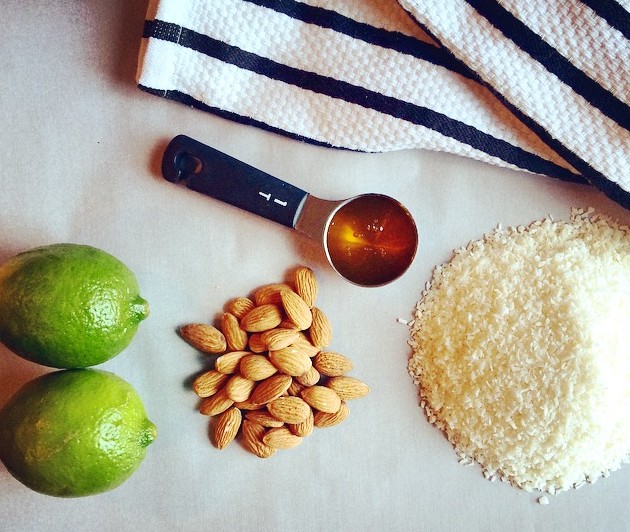
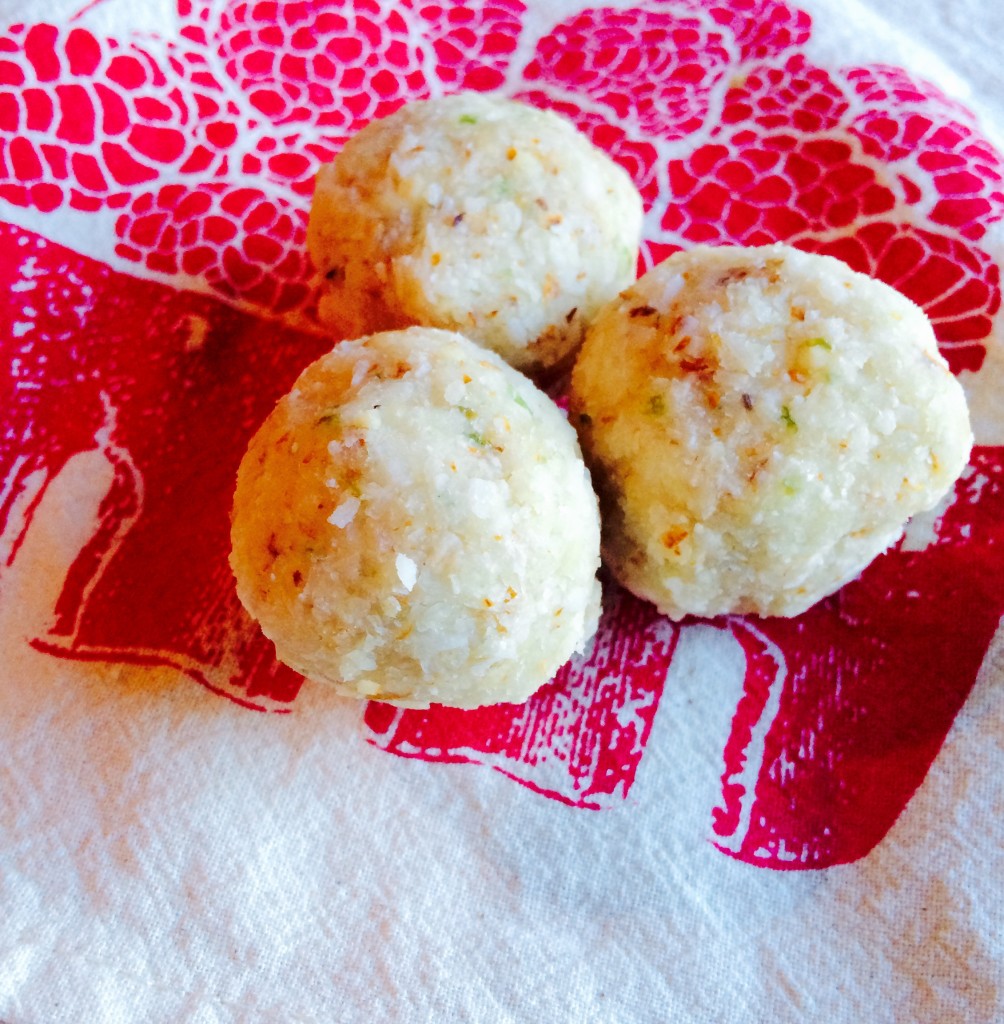
This recipe calls for key limes, but this time of year my local grocery store isn’t carrying them yet. But that doesn’t stop me from making them. No it doesn’t. I’ve made this recipe with your standard lime [pictured above] as well as lemons. Each version tastes delicious! And for those of you who don’t like your desserts too sweet, this one is definitely for you! It’s a little tart from the citrus, nutty from the coconut and almonds, and then there’s a hint of sweetness from honey. Desserts without a bunch of added sugars are hard to come by, so add this one to your go-to recipes when you need a sweet, but not-too-sweet healthy treat. Excuse me as I go grab one [or two] to snack on while I finish writing this post!
[into the food processor.]
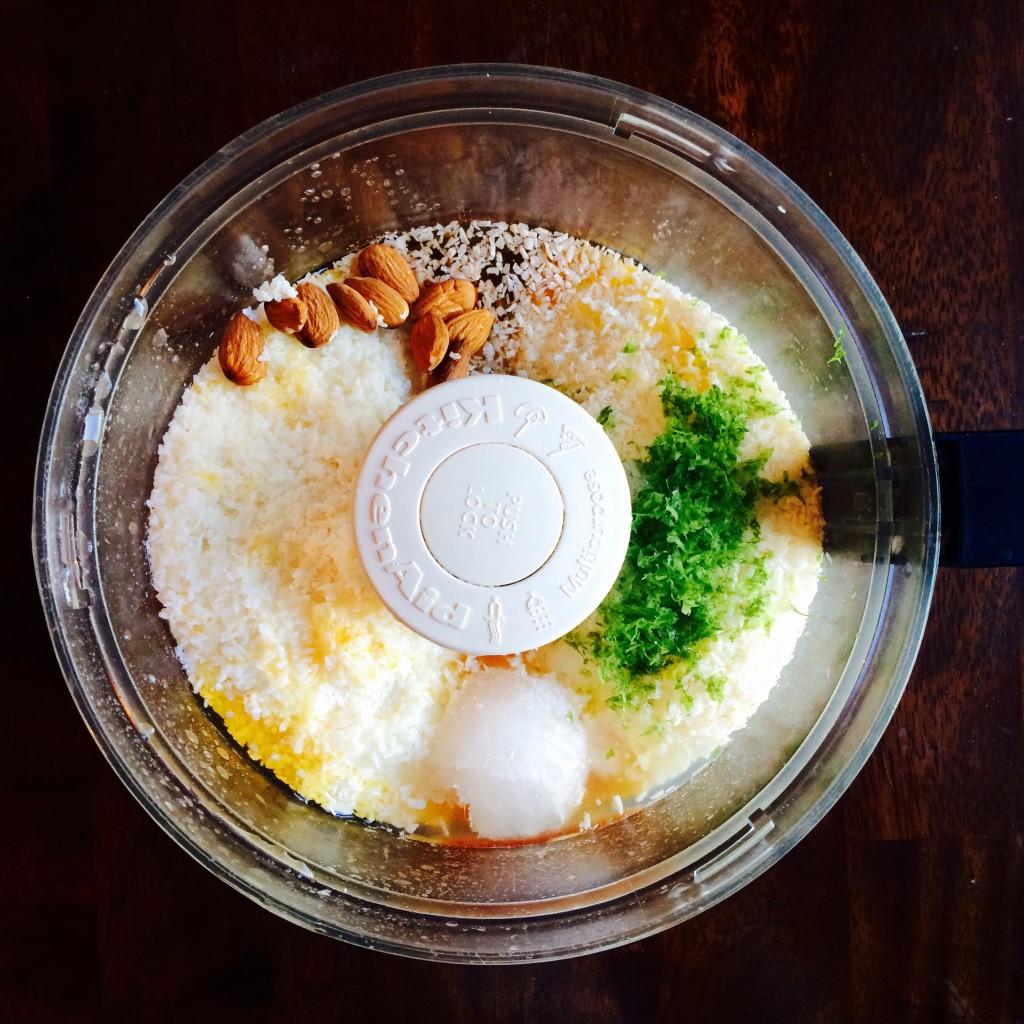
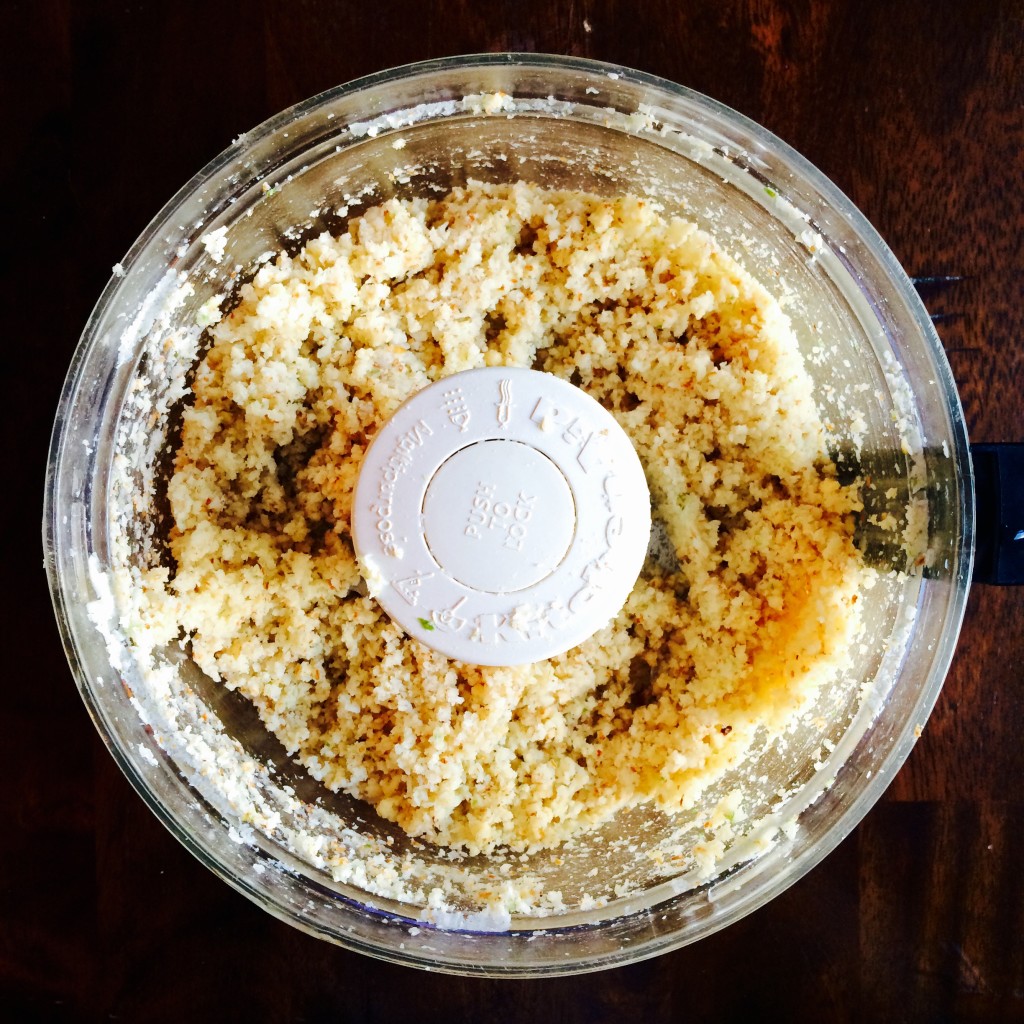
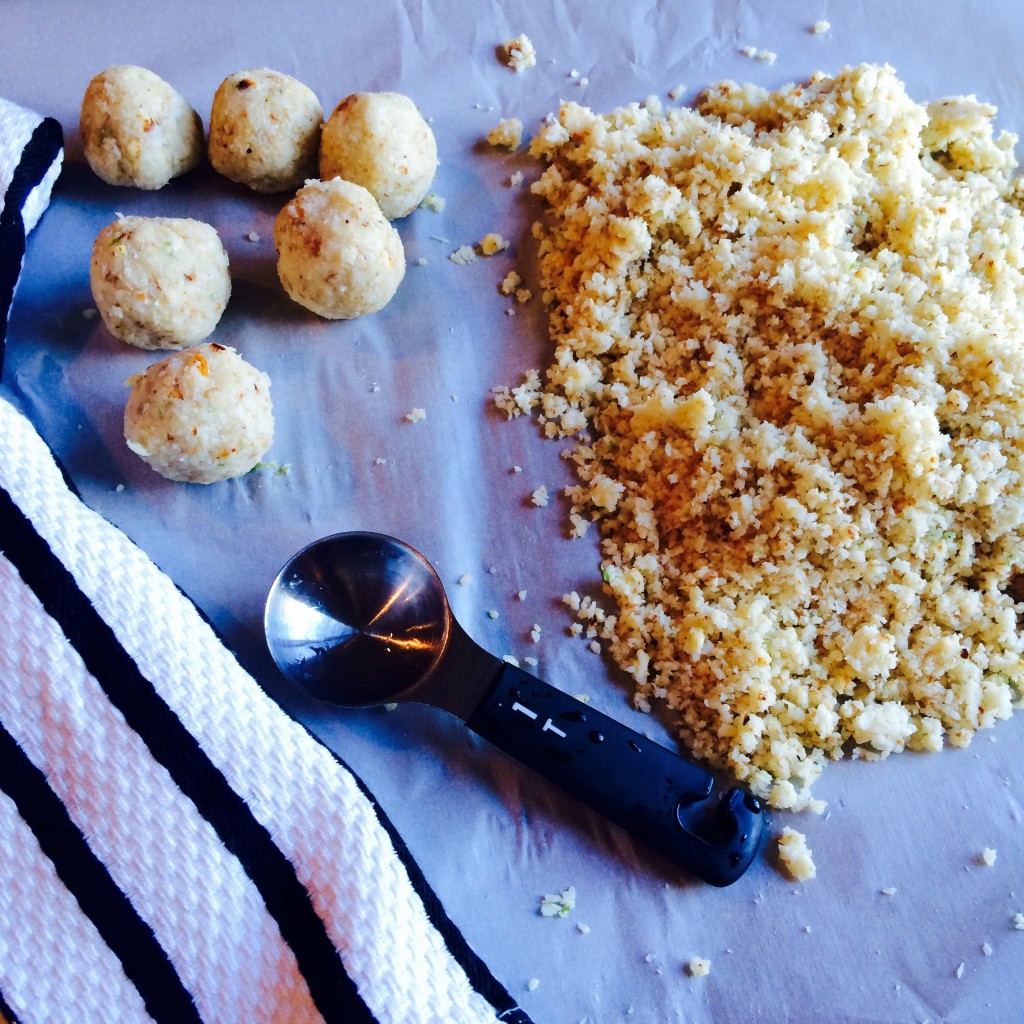
I told you this recipe is really simple to make, and I wasn’t lying. All the ingredients just get tossed into the food processor; then the food processor does most of the work for you. It takes a few whirls to get everything combined and chopped well, but once that’s done all you have to do is roll the mixture into bite-size balls. The picture below is what your mixture will look like when it’s done being processed and ready to be made into balls.
[processed + ready to form into balls.]
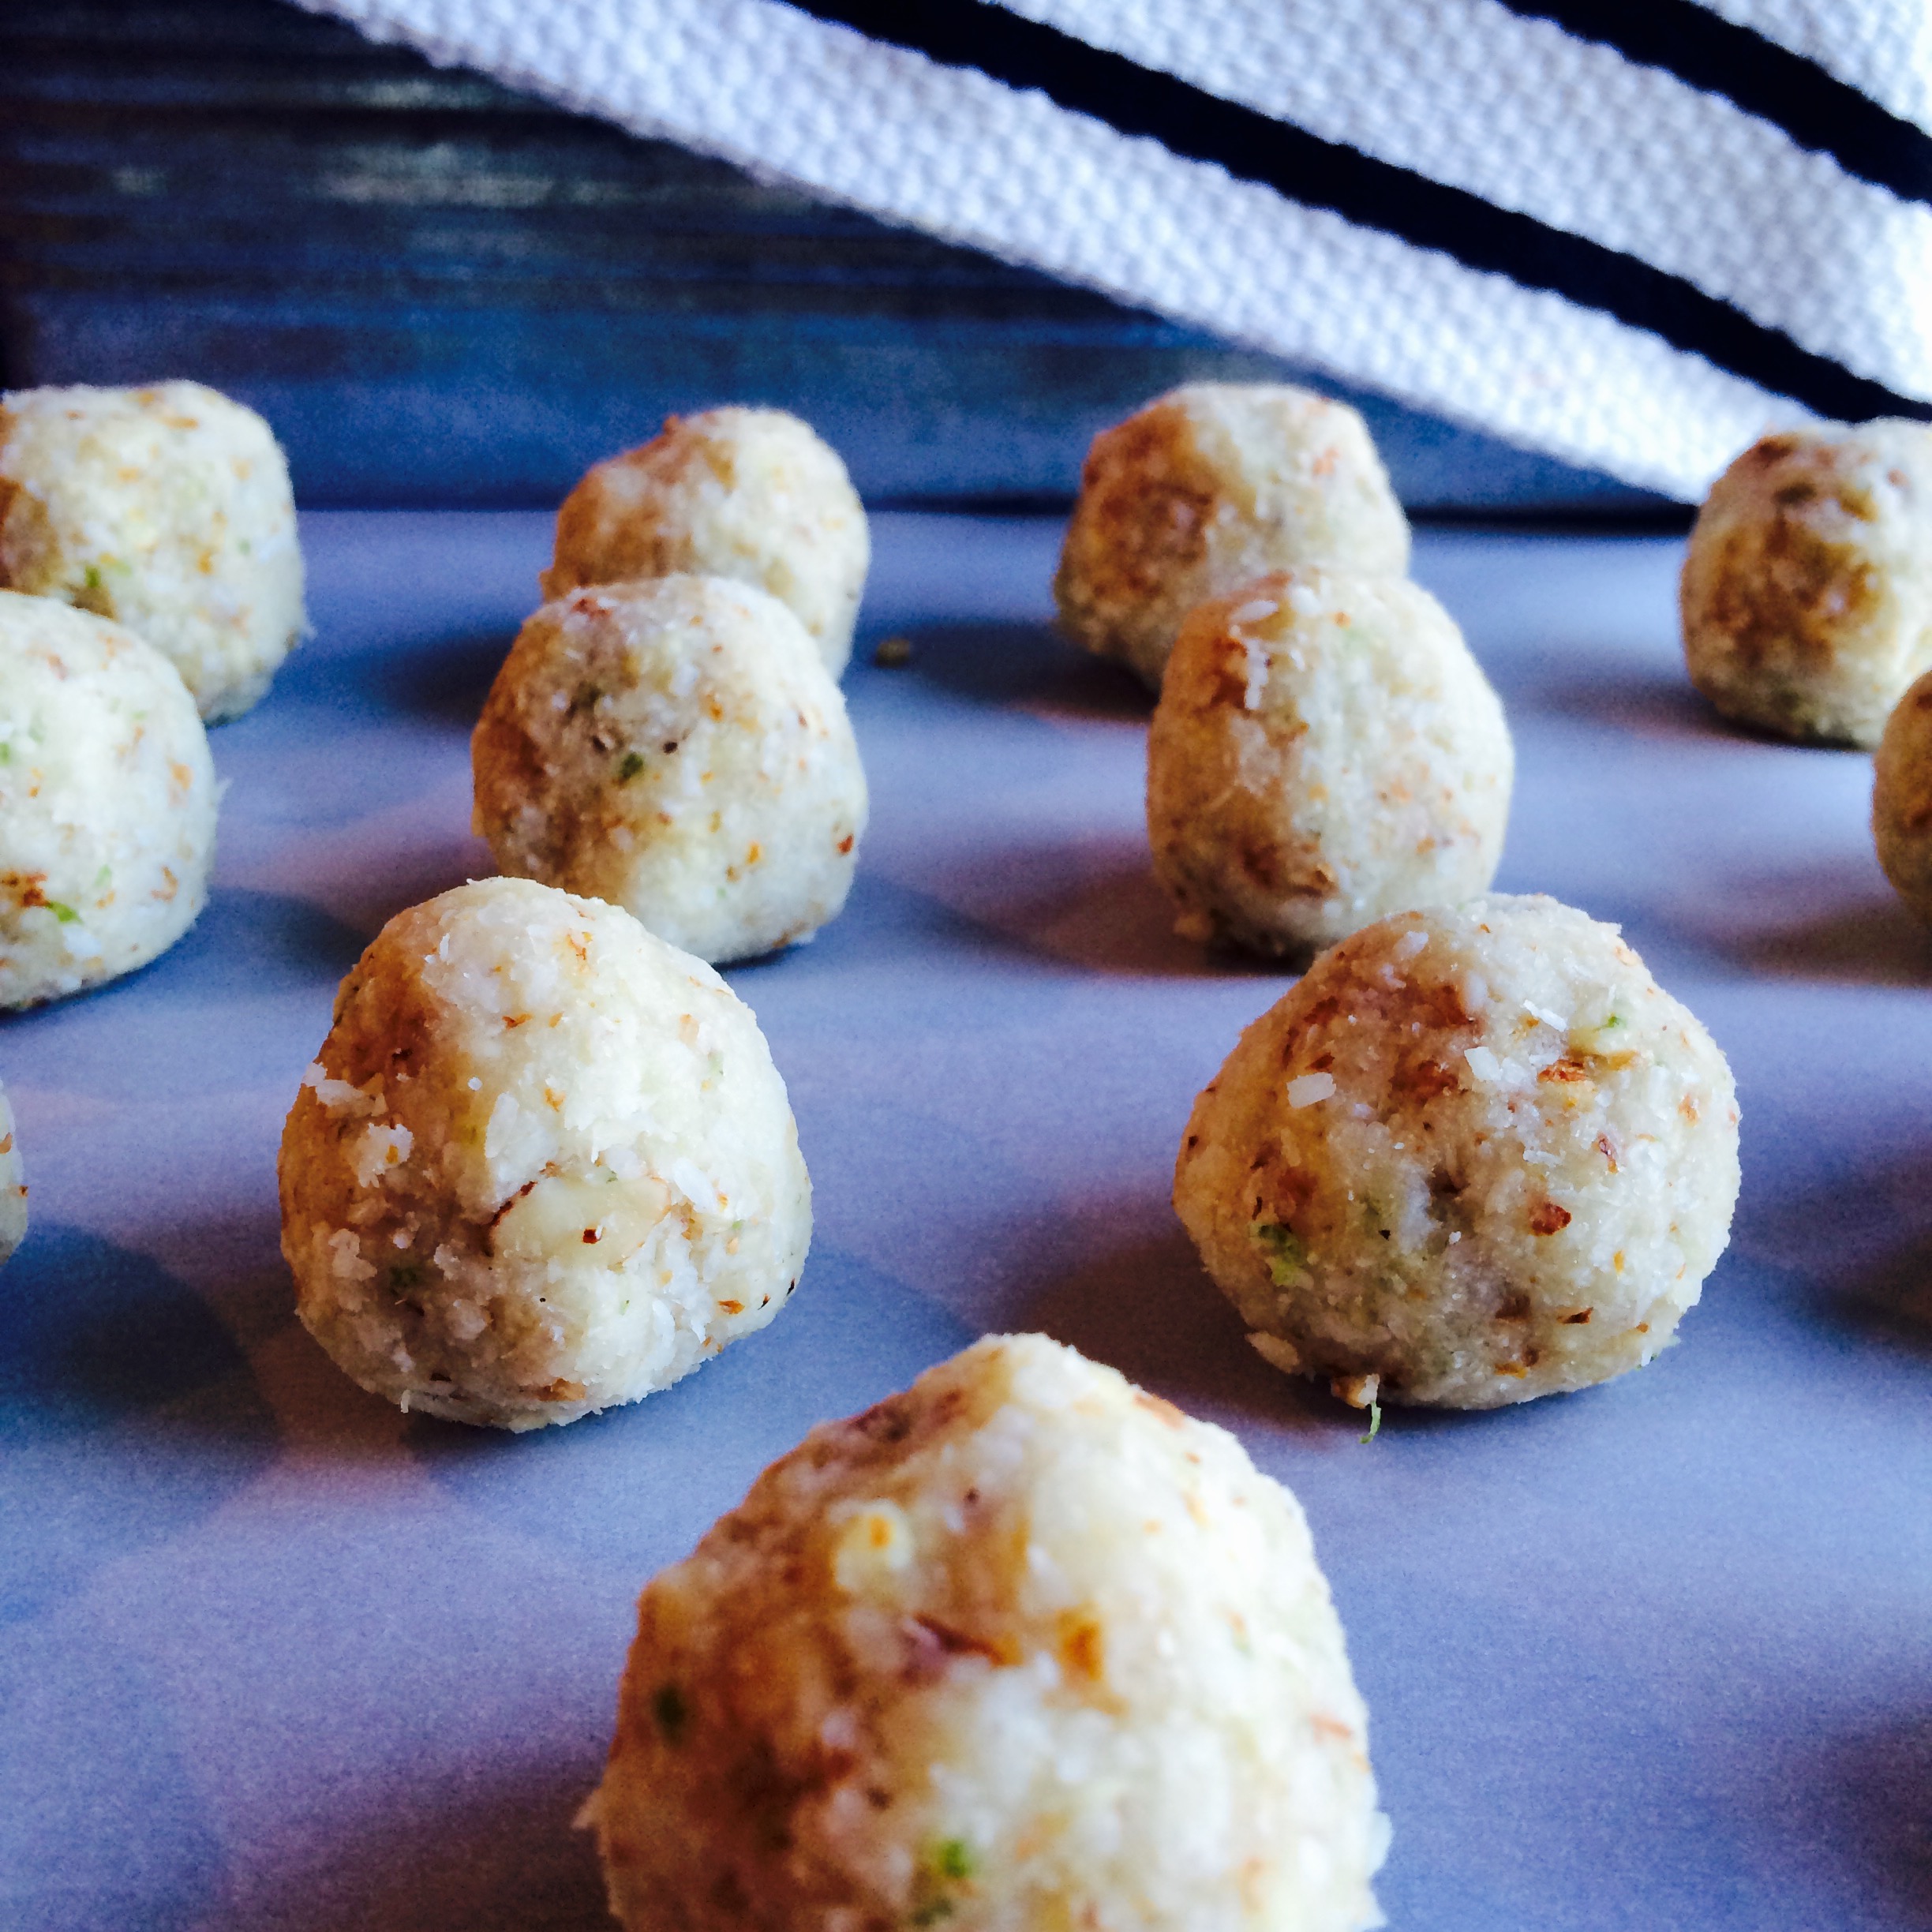
The mixture will crumble and fall apart, but once you get your hands a little dirty and start forming the balls, the mixture will begin to come together, and stay together. They may be a little crumbly and delicate during this process, but once you pop them in the fridge for an hour or so, they will have hardened to the perfect consistency. Perfect for popping into your mouth for a quick, easy + satisfying treat!
[getting your hands dirty.]
Coconut perfection.
If you follow my blog and read my recipes, you’ll notice that I love coconut. Really coconut anything makes me happy. Coconut oil. Coconut milk. Coconut flour. Shredded coconut. If it’s made of coconut, chances are I like it. And this recipe is no exception. I love coconut for it’s flavor + versatility, but also for the health benefits which are numerous. Specifically, I’m talking about the benefits of coconut oil.
[bite-size happiness.]
Coconut oil health benefits.
[1] Healthy fats.
Coconut is high in fat, there’s no question about that. But it’s one of the healthiest fats you can be consuming. Yes, it’s a saturated fat [which is not a bad thing] made up of medium chain triglycerides, or MCTs. These fats are very easily digested and burned efficiently.
[2] Lauric Acid. Anti-bacterial, anti-viral, anti-fungi.
About half of the fatty acids in coconut oil are lauric acid. Lauric acid is known to fight off infections, kill bacteria, viruses and fungi. Who knew?
[3] High temperature threshold for high-heat cooking.
Naturally, saturated fats are best to cook with because they tend to be the most stable at high heat. When cooking food on high heat, less stable oils like vegetable, canola, corn, soybean oil, etc. will easily break down, oxidize + cause inflammation in the body. Coconut oil can withstand high heat which is why it’s my number one choice for cooking.
side note: recently olive oil has been shown to be more stable at high heat than once thought, so cooking with olive oil at a medium-high heat can also be a good choice.
[4] Moisturizing for skin + hair.
Now this is something I don’t talk about much because it doesn’t involve eating. But when you can use an all natural product like unrefined coconut oil in place of the chemically-ridden shampoos and moisturizers on the market, why wouldn’t you? You can use coconut oil on your skin as a moisturizer, even wash your face with, and put it in your hair to help strengthen it.
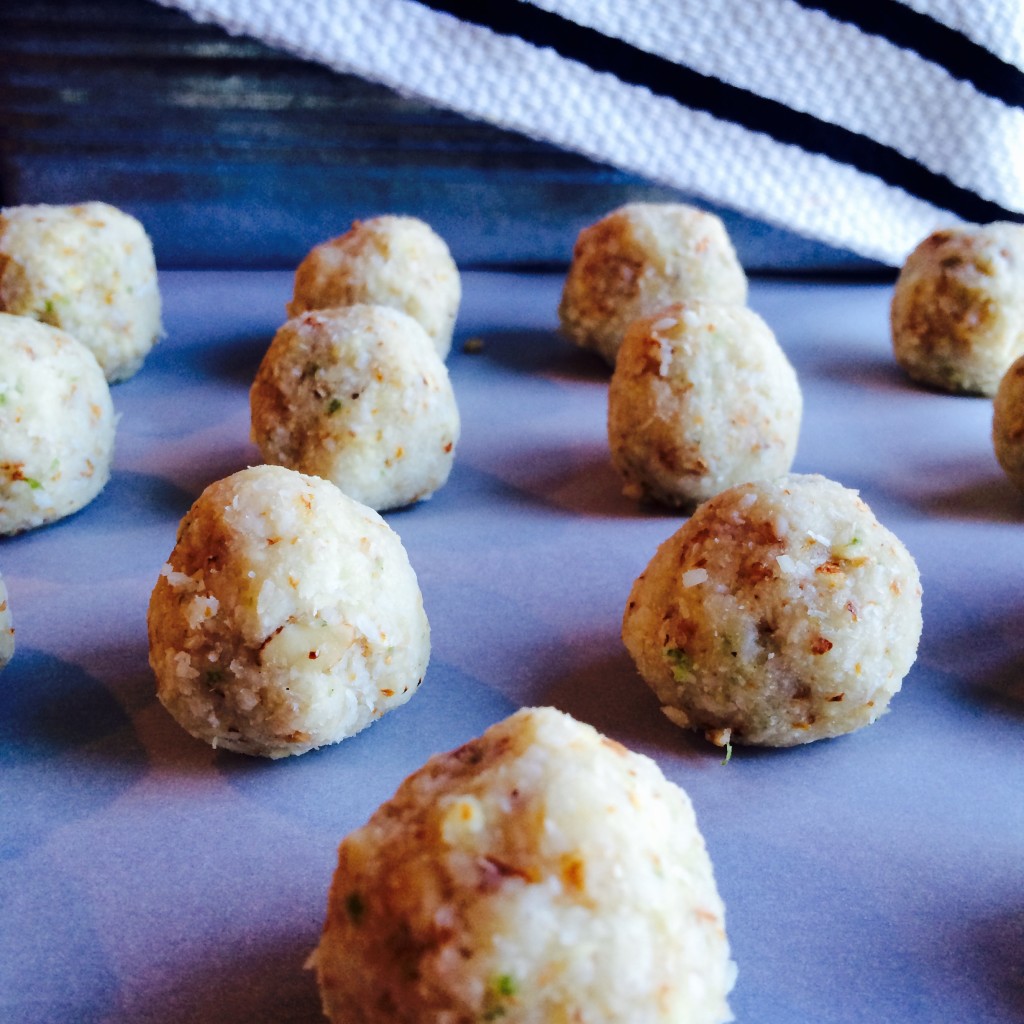
If you’re bringing these to a dinner party, BBQ, or just want more for yourself [which I’m happily guilty of], this recipe can easily be doubled. You’ll just need to mix a couple batches of ingredients separately in the food processor to make sure everything gets combined well.
I promise, these bite-sized treats will be a crowd pleaser! Check out the full recipe + directions below.
[enjoy.]
Raw Key Lime Coconut Balls
servings: about 18 balls
Ingredients
- 2 cups unsweetened, shredded coconut
- ½ cup raw almonds
- 3 Tbsp honey
- juice of 2 key limes
- zest from 1 key lime
- 1 Tbsp unrefined coconut oil, melted
Directions
Add all ingredients to a food processor. Process until all ingredients are finely chopped and combined. You may need to stop and scrape down the sides of the food processor bowl a couple of times to get everything incorporated well. Next, spoon about 1½ Tbsp of mixture into your hands and form a tight ball, rolling the mixture between your palms. Place ball on a parchment paper lined baking sheet [that will fit in the refrigerator]. Do this until all of the mixture is used up. Refrigerate balls for at least 1 hour. Once they have hardened, you can transfer the balls to an airtight container for storage. Store in the refrigerator for 1-2 weeks.
- 2 cups unsweetened, shredded coconut
- ½ cup raw almonds
- 3 Tbsp honey
- juice of 2 key limes
- zest from 1 key lime
- 1 Tbsp unrefined coconut oil, melted
- Add all ingredients to a food processor.
- Process until all ingredients are finely chopped and combined. You may need to stop and scrape down the sides of the food processor bowl a couple of times to get everything incorporated well.
- Next, spoon about 1½ Tbsp of mixture into your hands and form a tight ball, rolling the mixture between your palms.
- Place ball on a parchment paper lined baking sheet [that will fit in the refrigerator].
- Do this until all of the mixture is used up.
- Refrigerate balls for at least 1 hour. Once they have hardened, you can transfer the balls to an airtight container for storage.
- Store in the refrigerator for 1-2 weeks.
Did you try this recipe? What did you think? Let me know in the comments below 🙂




Recent Comments